Honeywell T6 Installation Guide: A Comprehensive Plan

This guide details the installation of your Honeywell T6 thermostat‚ covering everything from initial checks to Wi-Fi connectivity and advanced programming features.
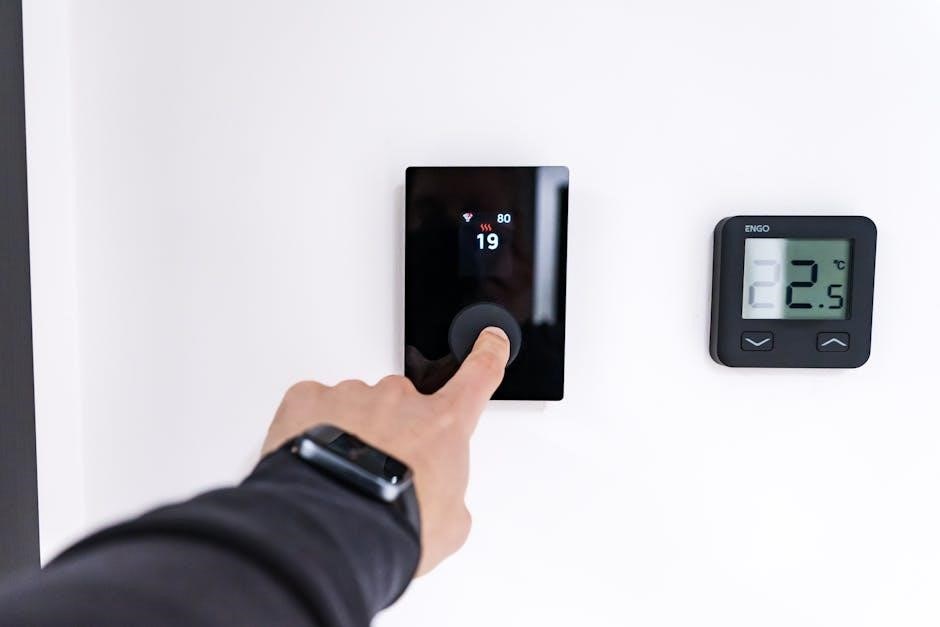
Welcome to the world of smart home comfort with the Honeywell T6 Thermostat! This innovative device offers a seamless blend of functionality‚ convenience‚ and energy efficiency‚ designed to modernize your home’s heating and cooling system. The T6 isn’t just a thermostat; it’s a central hub for climate control‚ allowing you to manage temperatures remotely via the Honeywell Home app.
This guide will walk you through every step of the installation process‚ ensuring a smooth and successful setup. Whether you’re upgrading from an older model or installing a thermostat for the first time‚ we’ll provide clear instructions and helpful tips. The T6 boasts a sleek design and intuitive interface‚ making it a stylish addition to any home. Prepare to experience a new level of comfort and control!
Package Contents and Tools Required
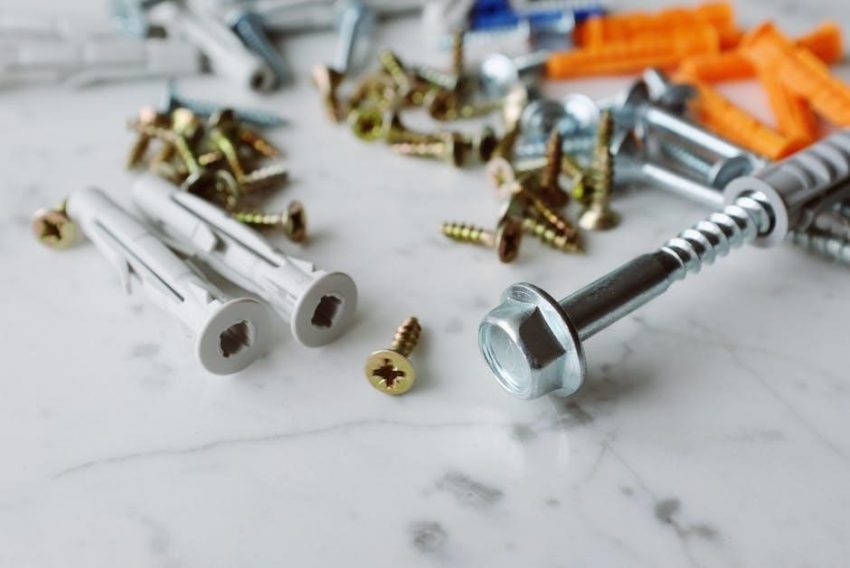
Before beginning the installation‚ verify all components are present within the Honeywell T6 package. You should find the T6 thermostat unit itself‚ a backplate for wall mounting‚ mounting screws and wall anchors‚ and wire labels for easy identification. Detailed installation instructions are also included‚ alongside this comprehensive guide.
To ensure a smooth installation‚ gather the following tools: a Phillips head screwdriver‚ a flathead screwdriver‚ a wire stripper/cutter‚ a level‚ a pencil‚ and potentially a drill (depending on wall material). A smartphone or tablet with Wi-Fi access is crucial for setup and app connectivity. Safety first – have a non-contact voltage tester to confirm power is off before handling wires!

Safety Precautions Before Installation
Prioritizing safety is paramount during thermostat installation. Always turn off power to your HVAC system at the breaker box before commencing any wiring work. Confirm the power is off using a non-contact voltage tester on the wires at your old thermostat – never assume!
Exercise caution when handling electrical wiring; if you’re uncomfortable‚ consult a qualified HVAC technician. Wear appropriate eye protection to shield against debris. Be mindful of potential hazards like asbestos in older homes when removing the existing thermostat. Properly dispose of old batteries and packaging materials. Finally‚ read all instructions thoroughly before starting‚ and if unsure about any step‚ seek professional assistance.
Compatibility Check: HVAC System Requirements
Ensuring compatibility is crucial for a successful Honeywell T6 installation. The T6 thermostat generally supports most 24V heating and cooling systems‚ including furnaces‚ heat pumps‚ and air conditioners. However‚ it’s not compatible with high-voltage systems (110V or 220V) or millivolt systems.
Crucially‚ verify if your system requires a “C-wire” (common wire) for continuous power. Many newer systems have one‚ but older systems may not. The T6 can operate without a C-wire using a power extender kit (sold separately) if needed. Confirm your HVAC system’s wiring configuration before proceeding. Check Honeywell’s compatibility checker online for specific system support details to avoid potential issues.
Removing Your Old Thermostat
Before installing the Honeywell T6‚ carefully remove your existing thermostat. This process begins with absolutely turning off power to your HVAC system at the breaker box – a critical safety step! Once confirmed off‚ remove the thermostat cover to expose the wiring.
Take a clear photograph of the existing wiring connections before disconnecting anything. This photo will be invaluable during the T6 wiring process. Gently disconnect each wire‚ labeling them with the provided wire labels corresponding to their terminal designations (R‚ W‚ Y‚ G‚ etc.). Be cautious and avoid touching any bare wires. Store the wires safely to prevent them from falling back into the wall.
Turning Off Power to Your HVAC System
Safety is paramount! Before commencing any work with your thermostat wiring‚ you must completely disconnect power to your heating‚ ventilation‚ and air conditioning (HVAC) system. Locate the circuit breaker that controls your HVAC system in your electrical panel. This is typically labeled “Furnace” or “HVAC‚” but may vary;
Flip the breaker to the “OFF” position. To confirm the power is indeed off‚ use a non-contact voltage tester on the wires at your existing thermostat. If the tester doesn’t indicate voltage‚ you’re safe to proceed. Never assume the power is off based solely on the breaker position; always verify with a tester. This prevents electrical shock and potential damage to your equipment.
Identifying and Disconnecting Wires
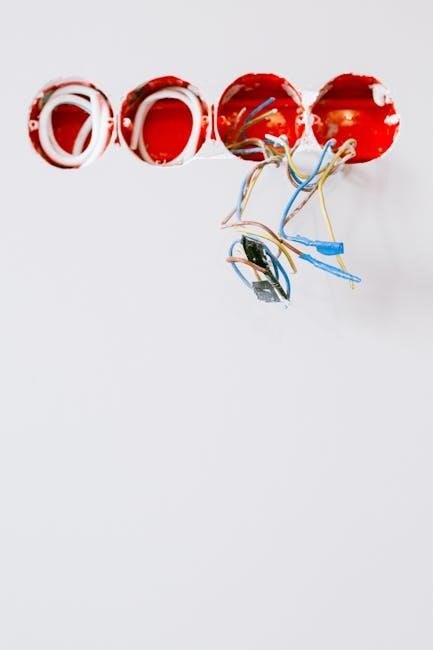
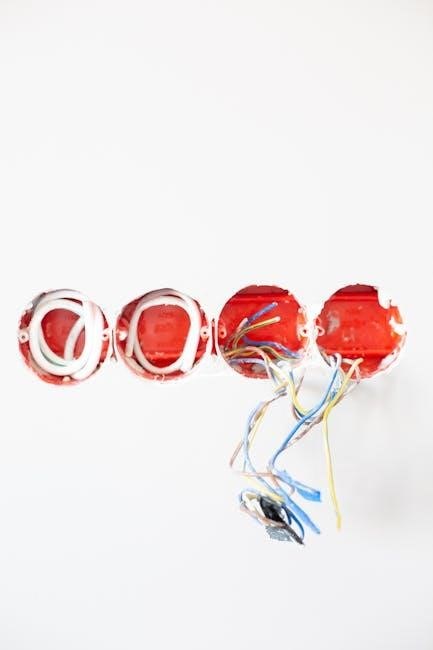
Carefully remove your old thermostat’s cover to expose the wiring. Before disconnecting anything‚ take a clear picture of the existing wiring configuration – this is crucial for reference! Label each wire with the provided stickers‚ matching the terminal designations on your old thermostat (e.g.‚ R‚ W‚ Y‚ G‚ C).
Gently disconnect each wire from its terminal. Some terminals have screws you need to loosen‚ while others have push-in connectors. Avoid pulling on the wires themselves; instead‚ release any retaining clips. If wires are brittle or damaged‚ carefully wrap electrical tape around the exposed ends. Do not allow wires to fall back into the wall!
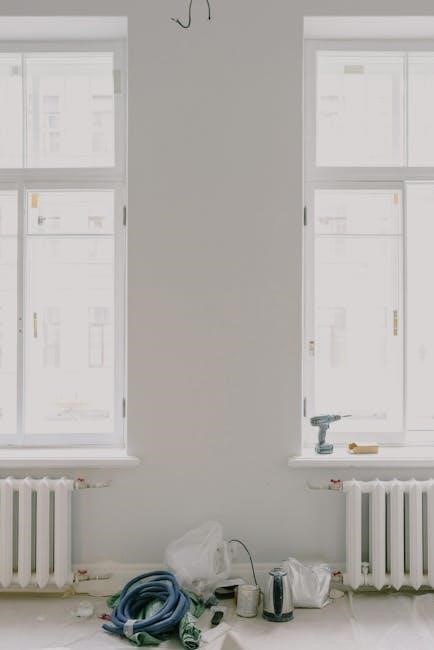
Mounting the Honeywell T6 Backplate
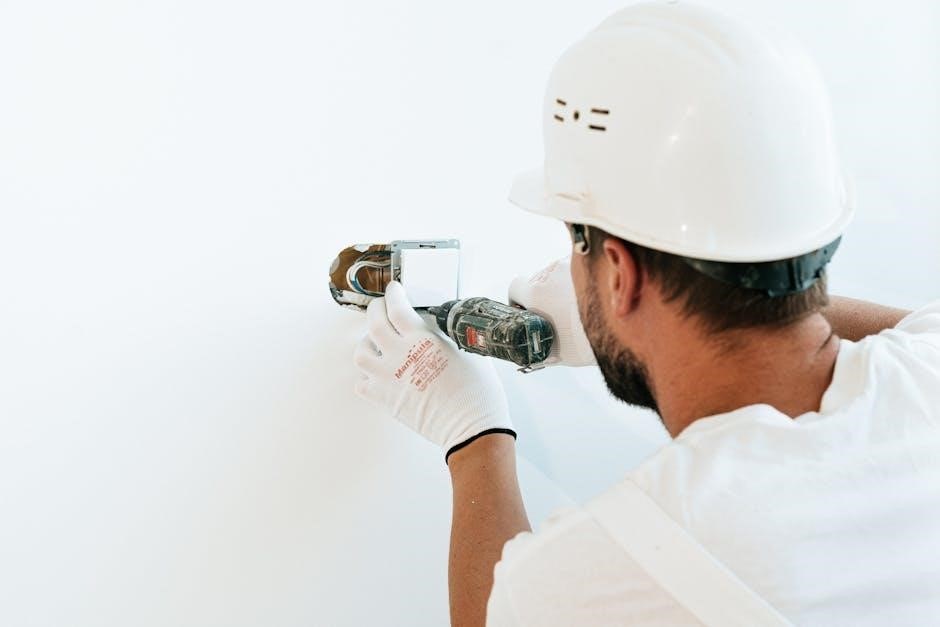
Position the Honeywell T6 backplate on the wall where your old thermostat was located. Ensure it’s level using a spirit level for accurate installation. Mark the screw holes with a pencil‚ then pre-drill pilot holes if necessary – especially for drywall installations. This prevents cracking and ensures a secure fit.
Use the provided screws to securely attach the backplate to the wall. Avoid over-tightening‚ as this could damage the backplate or the wall. Double-check that the backplate is firmly mounted and doesn’t wobble. A stable backplate is essential for proper thermostat operation and a clean aesthetic.
Wiring the Honeywell T6 Thermostat
Carefully connect the wires to the corresponding terminals on the Honeywell T6 backplate. Refer to the wiring diagram included with your thermostat and the labels you created during the old thermostat removal. Ensure each wire is securely inserted into its terminal – a loose connection can cause malfunctions.
Pay close attention to C-wire requirements. Some systems require a C-wire for consistent power. If you don’t have one‚ explore compatible power extender kits. Incorrect wiring can damage your HVAC system‚ so double-check all connections before proceeding. A properly wired thermostat is crucial for reliable heating and cooling.
Common Wiring Configurations (C-Wire‚ Without C-Wire)
The most common setup utilizes a C-wire (Common wire)‚ providing continuous power to the thermostat. This ensures consistent operation‚ especially with modern features. If your existing system has a C-wire‚ simply connect it to the ‘C’ terminal on the T6 backplate.
However‚ many older systems lack a C-wire. In these cases‚ a ‘C-wire adapter’ or ‘power extender kit’ is necessary. These kits ‘borrow’ power from other wires‚ effectively creating a common wire. Installation of these kits requires careful adherence to the manufacturer’s instructions. Incorrect installation can lead to system instability or damage. Always verify compatibility before proceeding.
Wire Labeling and Connection Guide
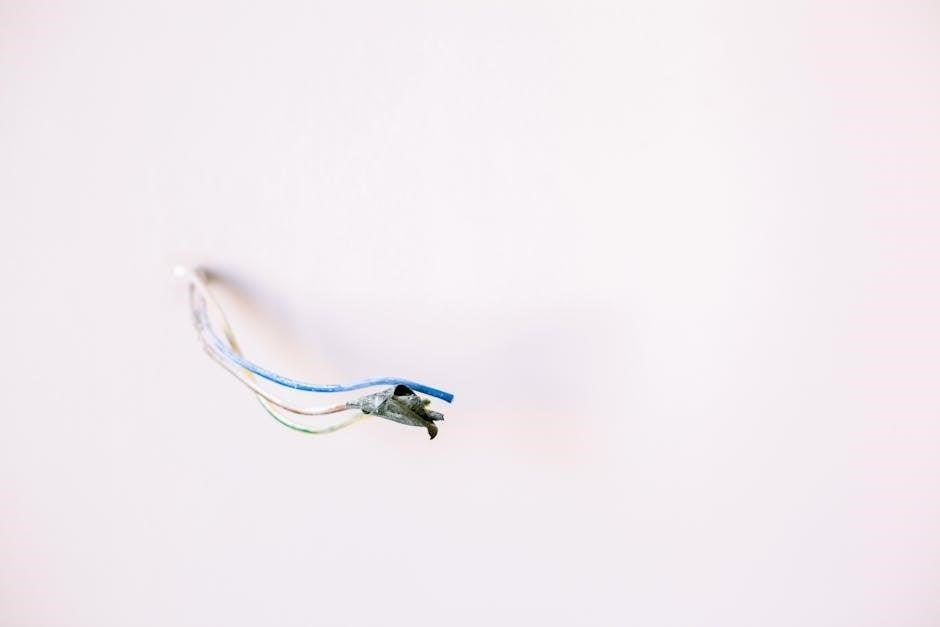
Before connecting any wires‚ meticulously label each wire using the provided wire labels. Match the labels to the corresponding terminals on your old thermostat – typically R‚ W‚ Y‚ G‚ and C. Accurate labeling is crucial to avoid errors during the wiring process.
Refer to the Honeywell T6 wiring diagram included in the package. Connect each labeled wire to the corresponding terminal on the T6 backplate. Ensure wires are securely inserted into the terminals; a loose connection can cause malfunctions. Gently tug on each wire to confirm a firm hold. If you encounter difficulty‚ double-check your labeling and the wiring diagram.
Attaching the Honeywell T6 Display Unit
Once the backplate is securely mounted and all wires are correctly connected‚ carefully align the Honeywell T6 display unit with the backplate. Gently push the display unit onto the backplate until it clicks into place. Ensure it’s firmly seated and flush against the wall. Do not force it; if it doesn’t align easily‚ re-check the wire connections and backplate mounting.
A secure connection is vital for proper operation and to prevent accidental disconnections. Once attached‚ verify the display unit is stable and doesn’t wobble. The display should power on automatically once the HVAC system’s power is restored‚ initiating the initial setup process.
Initial Power-Up and Setup
After attaching the display unit‚ restore power to your HVAC system at the breaker box. The Honeywell T6 should power on and begin the initial setup sequence. The display will guide you through selecting your language‚ date‚ and time. It will also ask about your HVAC system type – forced air‚ heat pump‚ or radiant.
Accurate system identification is crucial for correct operation. Follow the on-screen prompts carefully. The thermostat may perform a brief system test‚ briefly activating heating and cooling to confirm proper wiring. If any errors are detected during this test‚ refer to the troubleshooting section of this guide before proceeding.
Connecting to Wi-Fi and Honeywell Home App
To unlock smart features‚ connect your T6 to Wi-Fi. On the thermostat‚ navigate to the settings menu and select “Connect to Wi-Fi.” The thermostat will scan for available networks. Choose your network and enter the password using the on-screen keyboard.
Download the Honeywell Home app (available for iOS and Android) and create an account. Within the app‚ select “Add a Device” and follow the instructions to pair your T6. The app will guide you through the process‚ often requiring you to enter a code displayed on the thermostat screen. Successful connection enables remote control‚ scheduling‚ and access to advanced features.
Programming Your Honeywell T6 Thermostat
Customize your comfort with personalized schedules. Through the thermostat or Honeywell Home app‚ create heating and cooling schedules tailored to your daily routine. Set different temperatures for wake‚ leave‚ return‚ and sleep periods. Utilize the “Smart” features for automated adjustments based on your preferences.
Explore geofencing capabilities. The app uses your smartphone’s location to detect when you’re approaching or leaving home‚ automatically adjusting the temperature for optimal comfort and energy savings. Learning modes analyze your habits and proactively optimize settings. Experiment with these features to find the perfect balance between convenience and efficiency.
Setting Schedules and Geofencing
Create personalized comfort profiles by establishing distinct schedules for weekdays and weekends. Define specific temperatures for various times of day – wake‚ leave‚ return‚ and sleep – ensuring optimal comfort and energy conservation. The Honeywell Home app simplifies schedule creation and modification‚ offering a user-friendly interface.
Leverage geofencing for automated control. Enable location services within the app‚ and the T6 will automatically adjust the temperature based on your proximity to home. This feature minimizes energy waste when you’re away and ensures a comfortable environment upon your arrival. Fine-tune geofencing radius for precise control and responsiveness.
Utilizing Smart Features and Learning Modes
Explore intelligent features designed to optimize your home’s climate. The Honeywell T6 boasts smart recovery‚ predicting how long it takes to reach your desired temperature‚ ensuring comfort precisely when needed. Utilize the “Follow Me” feature‚ allowing the thermostat to sense temperature near your current location for more accurate readings.
Activate learning modes to let the thermostat adapt to your lifestyle. Over time‚ the T6 learns your temperature preferences and automatically adjusts schedules‚ maximizing energy savings without compromising comfort. Regularly review and refine learned schedules within the Honeywell Home app to maintain optimal performance and personalization.
Troubleshooting Common Installation Issues
Power issues? Verify the HVAC system’s breaker hasn’t tripped and the thermostat is receiving power. A missing or improperly installed C-wire is a frequent culprit; consider a C-wire adapter if needed. No Wi-Fi connection? Double-check your network password and ensure a strong signal strength. Restarting both the thermostat and your router can often resolve connectivity problems.
Incorrect temperature readings? Confirm proper wiring and calibrate the thermostat through the Honeywell Home app. Display unresponsive? Attempt a soft reset by removing and reinserting the thermostat display unit. If issues persist‚ consult the Honeywell support website for detailed troubleshooting guides and FAQs‚ or contact a qualified HVAC technician.
Honeywell T6 Thermostat Reset and Recovery
Soft Reset: For minor glitches‚ detach the thermostat display from the backplate for 60 seconds‚ then reattach. This restarts the unit without losing settings. Factory Reset: Access the thermostat’s menu (typically through the settings icon) and select “Reset” or “Factory Defaults.” Warning: This erases all personalized schedules and Wi-Fi information.
Recovery Mode: If the thermostat becomes unresponsive after a software update‚ a forced reboot might be necessary. Consult the Honeywell support website for specific instructions‚ as this process varies. Regularly backing up your settings via the Honeywell Home app is recommended. If problems continue‚ contact Honeywell’s customer support for assistance and potential firmware re-installation guidance.
Advanced Settings and Customization Options
Fan Control: Beyond “Auto” and “On‚” explore options like “Circulate” for continuous air movement. Filter Change Reminders: Customize reminders based on filter type and usage. Temperature Calibration: Fine-tune temperature readings if discrepancies exist. Equipment Profiles: Optimize settings for specific HVAC systems (heat pump‚ gas furnace‚ etc.).
Smart Alerts: Configure notifications for extreme temperatures or system malfunctions. Vacation Mode: Set extended away periods with energy-saving temperatures. Geofencing Radius: Adjust the geofence area for precise home/away detection. Explore the Honeywell Home app for additional customization‚ including integration with other smart home devices for a truly connected experience.